As winter approaches, protecting your sprinkler system from damage caused by freezing water is a crucial maintenance task. The process known as "sprinkler blowout" is designed to remove water from the irrigation pipes, valves, and sprinkler heads, preventing ice formation that can crack or burst these components. This essential guide explains everything you need to know about sprinkler blowouts—from why they matter to methods and tips for successful winterization.
Why is Sprinkler Blowout Important?
During winter, any water left within your sprinkler system can freeze, expand, and cause damage such as:
- Cracked pipes
- Broken sprinkler heads
- Damaged valves and fittings
Since freezing damage can lead to costly repairs or the need for a full system replacement, performing a proper blowout before freezing weather sets in safeguards your investment in irrigation infrastructure.
When to Perform a Sprinkler Blowout
The timing depends on your local climate but generally occurs in the fall when temperatures start regularly dropping below freezing. Waiting too long can risk pipes freezing, while performing it too early might leave your lawn without irrigation during still warm spells.
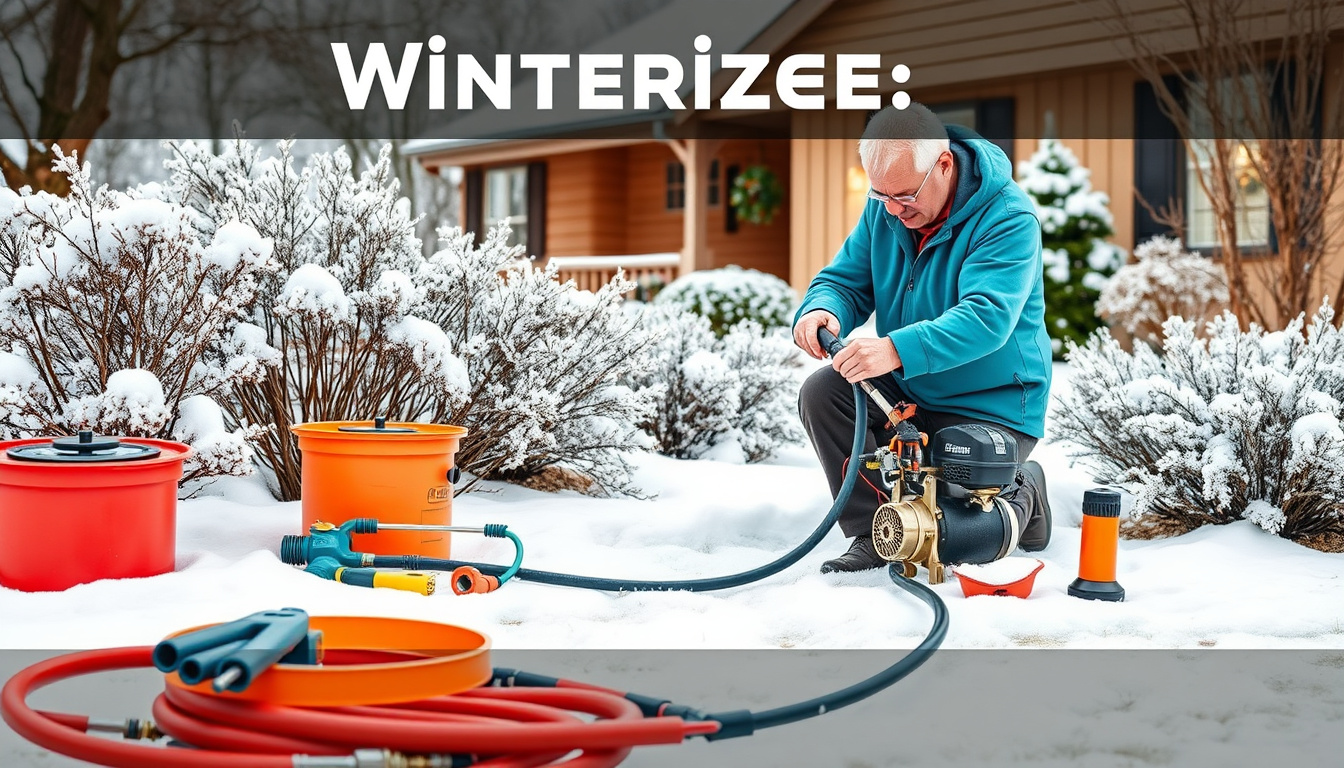
Tools and Equipment Needed
Successful sprinkler blowout requires specific tools, primarily:
- Air compressor: A compressor capable of delivering regulated air pressure, typically between 50 to 85 PSI (pounds per square inch), is key.
- Blowout adapter: This specialized connector attaches the air compressor hose to your irrigation system, often fitted to standard pipe threading.
- Protective gear: Eye protection is essential due to pressurized air and possible debris or water discharge.
You can purchase sprinkler blowout kits, which bundle these components and include various adapters to fit different pipe sizes and configurations.

Step-by-Step Sprinkler Blowout Procedures
There are two main approaches to blowing out your sprinkler system, depending on whether your system uses an automatic irrigation controller or manual valves.
1. Preparing the System
- Turn off the main water supply.
- Relieve pressure in the mainline by opening a control valve manually or from your irrigation timer.
- Open all manual drain valves if your system has them.
2. Attaching the Compressor
- Connect the air compressor hose to the blowout adapter attached to an outdoor faucet or appropriate irrigation line port.
- Wear eye protection to guard against sudden bursts or flying debris.
3. Blowing Out the Zones (Using an Irrigation Controller)
- Set your compressor’s regulated pressure to about 50 PSI—avoid exceeding 50 PSI as excessive pressure can damage pipes and sprinkler heads.
- Activate the zone furthest from the air connection from your irrigation controller.
- Gradually increase air flow to push water out, watching the sprinkler heads until water spray reduces to mist.
- Limit air blasting per zone to 1-2 minutes to prevent heat buildup, which could damage components.
- Move sequentially through zones by advancing the controller, repeating the blowout process until all zones are clear.
- After the final zone, turn off the compressor before shutting the controller to “OFF.”
4. Blowing Out the Zones (Manual Valves)
- Close the main water shutoff valve.
- Open one zone valve to relieve pressure.
- Turn on the compressor at 50 PSI.
- Manually open each irrigation zone valve one at a time while blowing out the lines as above.
- Repeat the process two or more times per zone for thorough drainage.
Important Safety and Performance Tips
- NEVER exceed 50 PSI: Higher pressure risks pipe bursts and damages sprinkler heads.
- Do not stand directly over irrigation components during blowout—debris or broken parts can cause injury.
- Do not blow air for more than 2 minutes on any zone to avoid heat damage.
- Open one valve before starting the compressor to balance pressure within the system.
- Avoid trying to blow out every last drop of water; a fine mist or small spray from sprinkler heads indicates a successful blowout.
- Inspect your system for stuck automatic drain valves or any puddling after draining.
- If unsure or lacking proper equipment, consider hiring a professional irrigation technician.
After Blowout: Additional Winterizing Measures
- Shut off your water supply at the mainline.
- Insulate valve boxes and backflow preventers to protect from freezing temperatures.
- Cover outdoor faucets with insulated covers to further protect vulnerable points.
- Conduct a system check for damaged or worn components and perform necessary repairs before winter fully sets in.
Conclusion
Mastering the sprinkler blowout is an indispensable skill for any irrigation system owner in regions with freezing winters. Proper winterization through careful blowout techniques protects your sprinkler investment, prevents costly damage, and ensures your lawn and garden are ready to flourish when spring arrives.
Remember, safety and proper pressure regulation are paramount during the blowout process. When in doubt, consulting or hiring a professional can save you time, money, and headaches.
Additional Resources
For those interested in purchasing blowout kits or accessories, many reliable options are available online, equipped with shutoff valves, quick-connect fittings, and adapters suitable for various pipe sizes. Look for kits with high user ratings and compatibility with your system to ensure smooth winterization.
By following this comprehensive guide to sprinkler blowout, you can confidently prepare your irrigation system for winter and enjoy peace of mind throughout the colder months.
5280 Sprinklers – specializing in irrigation maintenance and repair in and around Denver, Colorado